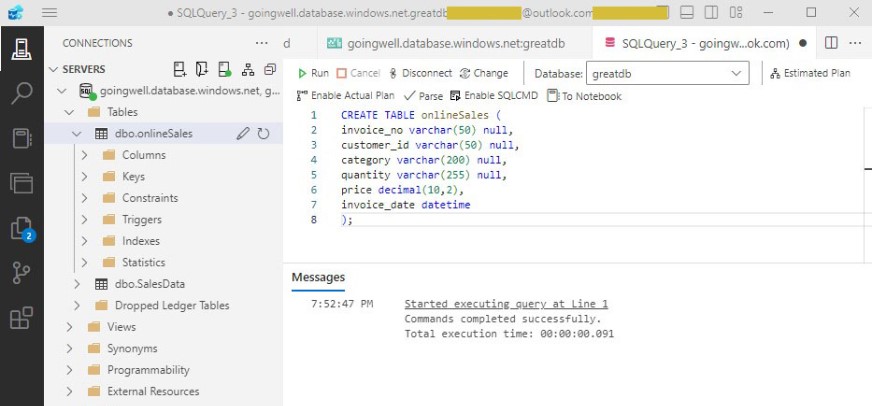
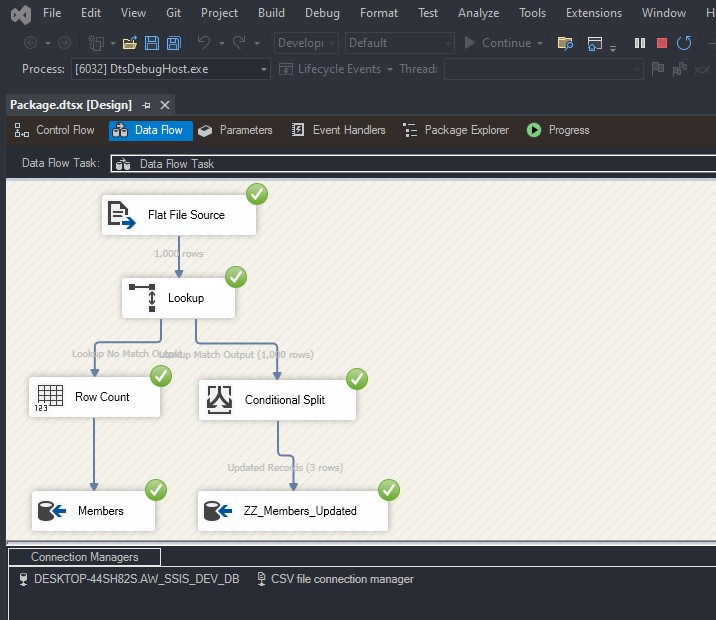
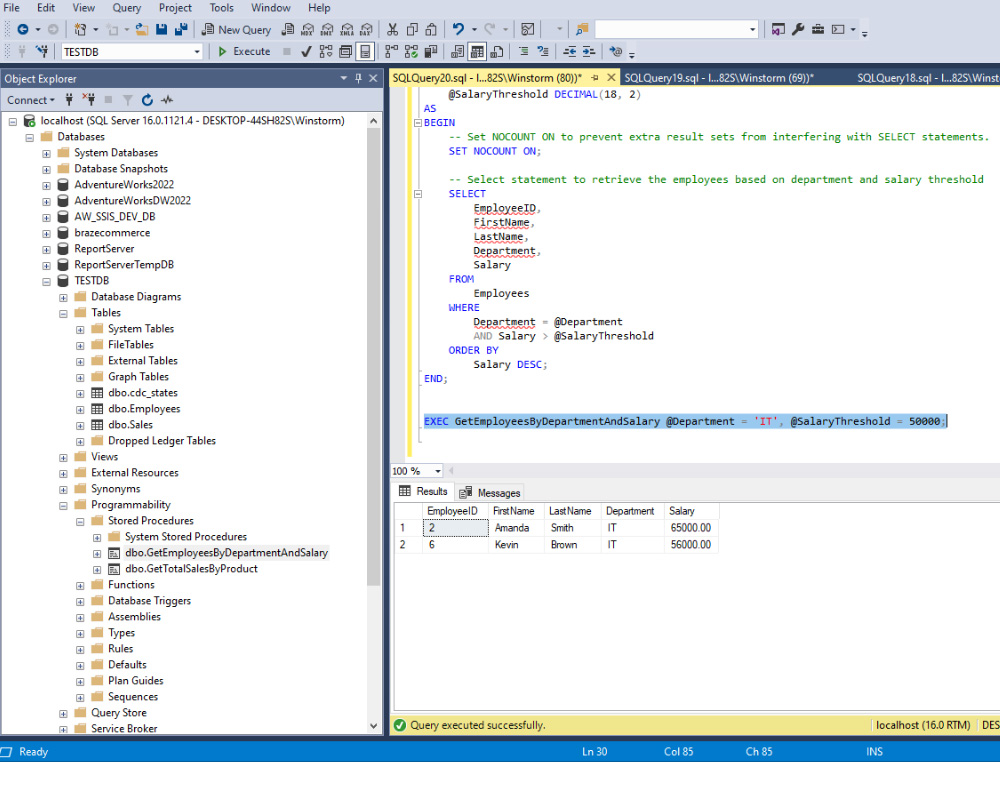
To connect to an Azure Database from a client computer, you generally use a database client or programming language that supports the type of Azure Database you’re using (e.g., Azure SQL Database, Azure Cosmos DB, Azure Database for MySQL, etc.). Here’s a general guide on how you can connect from a client computer to an Azure Database:
Table of Contents
TogglePrerequisites:
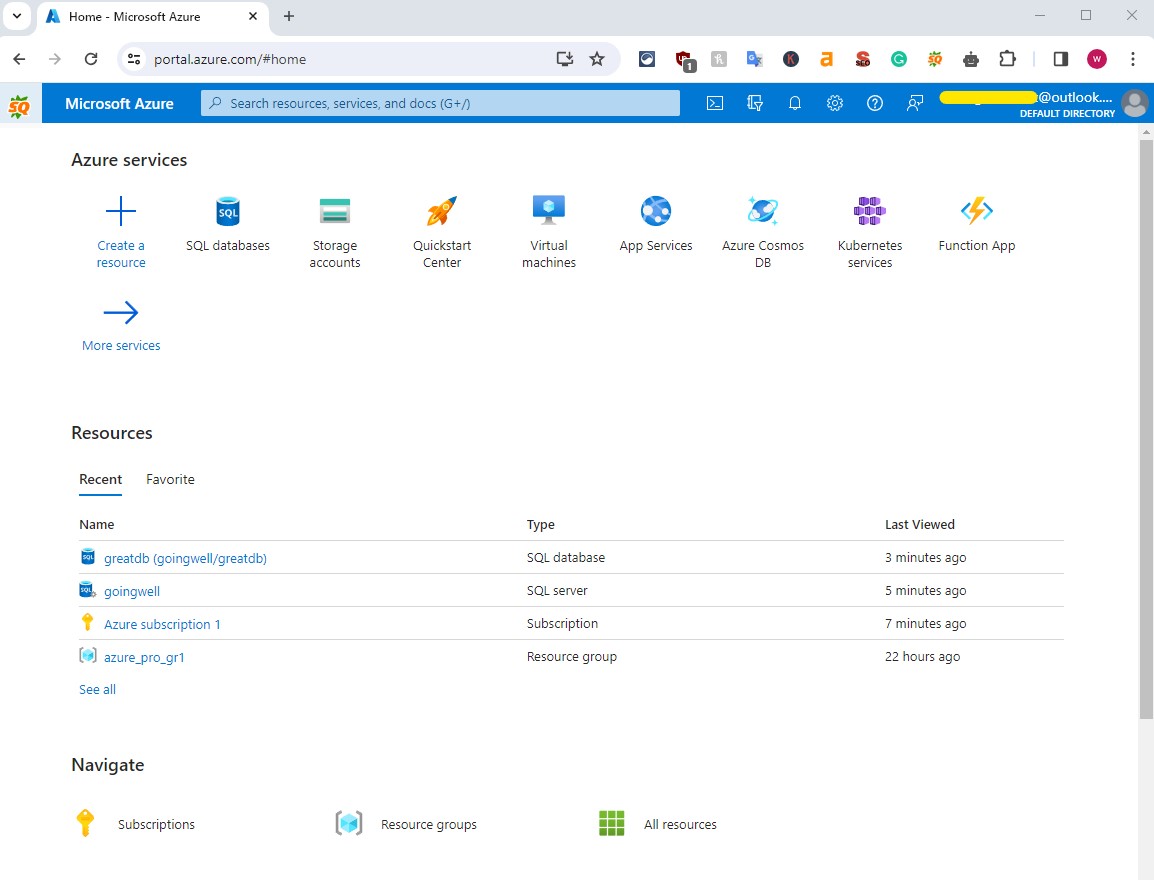
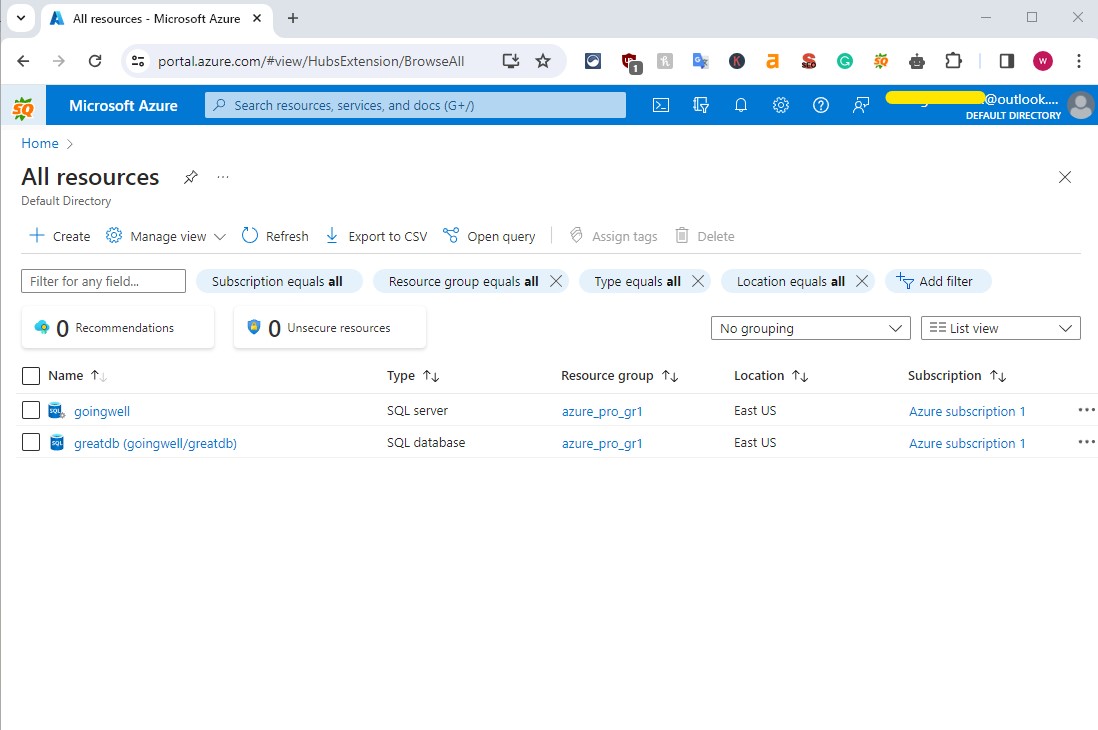
Azure Subscription: You need an active Azure subscription and an Azure Database service provisioned.
Database Connection Information: You need the server name, database name, username, and password for your Azure Database. This information is crucial for establishing a connection.
Firewall Configuration: Ensure that the Azure Database firewall is configured to allow connections from your client computer’s IP address. You can configure this in the Azure portal under the firewall settings of your database server.
Steps to Connect from a Client Computer:
1. Choose a Database Client:
Choose a database client tool that is compatible with your Azure Database. For Azure SQL Database, you can use tools like SQL Server Management Studio (SSMS) or Azure Data Studio. For Azure Cosmos DB, you might use tools like Azure Cosmos DB Explorer or Robo 3T (for MongoDB).
2. Install and Configure the Database Client:
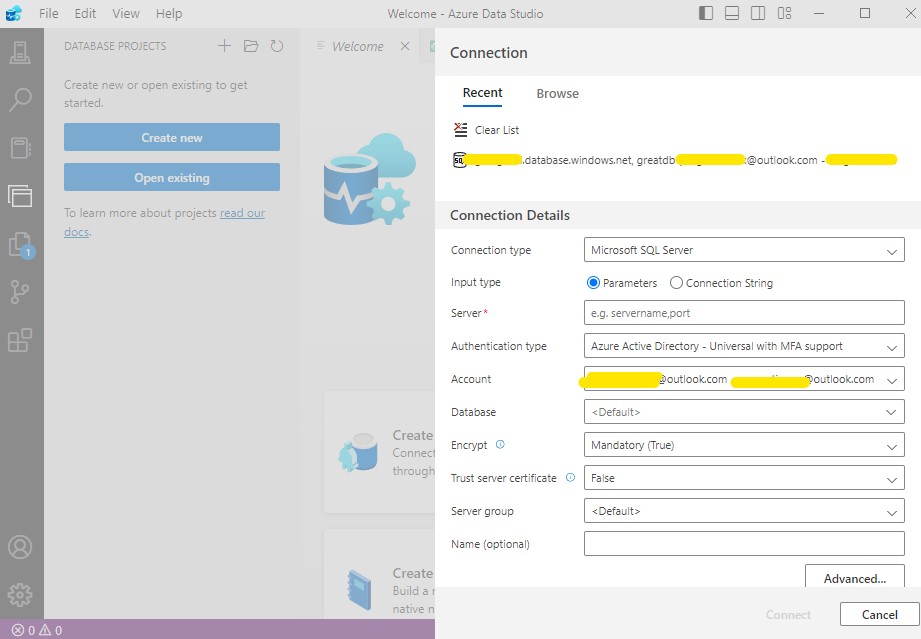
Install the chosen database client on your client computer. During installation or when setting up a new connection, you will be prompted to enter the connection details, including the server name, database name, username, and password.
3. Enter Connection Details:
In your database client, provide the following details:
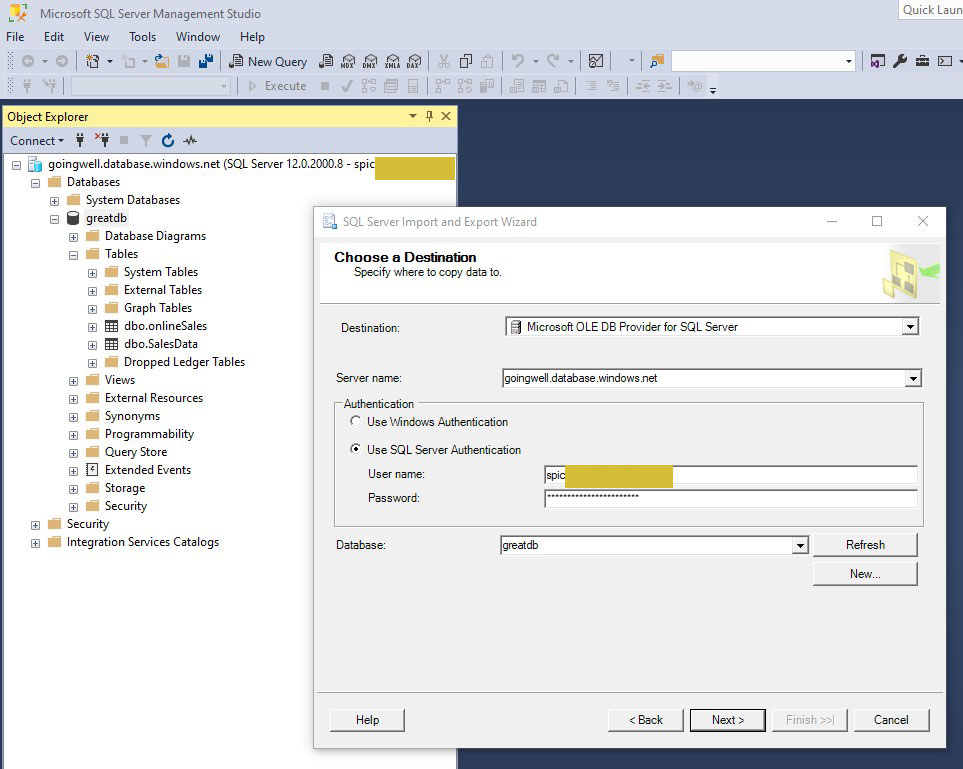
- Server/Host Name: This is the fully qualified server name of your Azure Database server.
- Authentication: Use the username and password you specified when setting up the Azure Database.
- Database Name: Specify the name of the database you want to connect to.
4. Security:
Ensure that your connection is encrypted. For example, in SQL Server Management Studio, you can enable SSL encryption in the Connection Properties.
5. Test the Connection:
After entering the connection details, test the connection to confirm that your client computer can connect to the Azure Database successfully.
6. Write and Execute Queries:
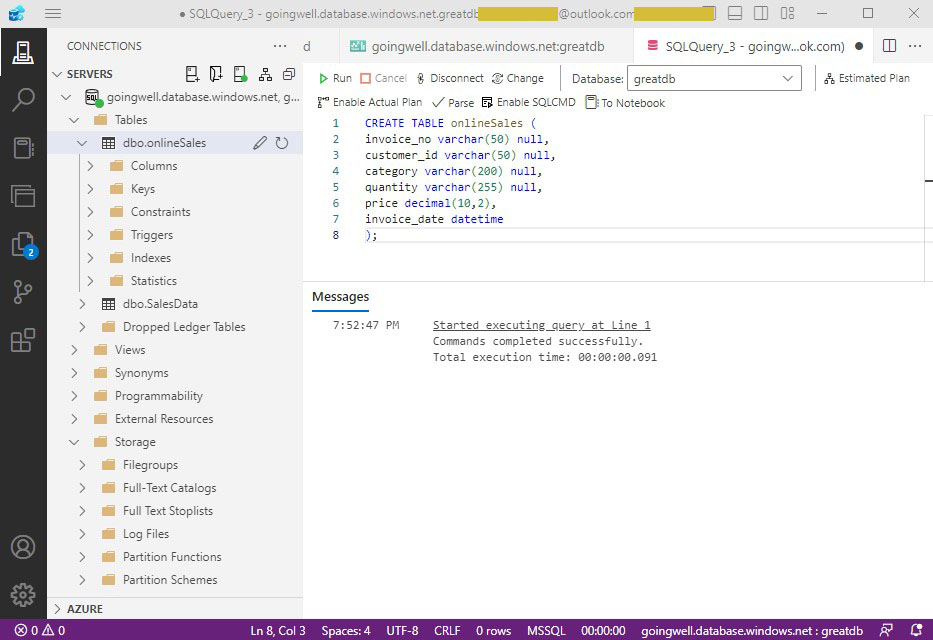
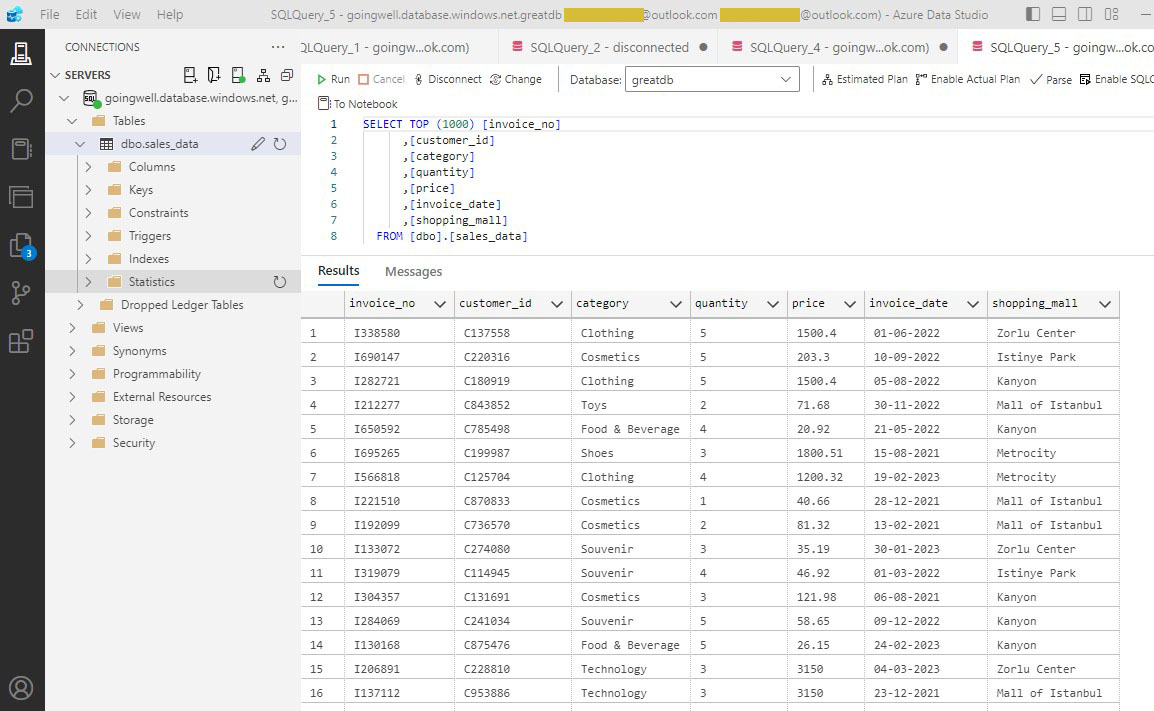
Once connected, you can write and execute SQL queries (for relational databases) or commands (for NoSQL databases) directly from your database client to interact with your Azure Database.
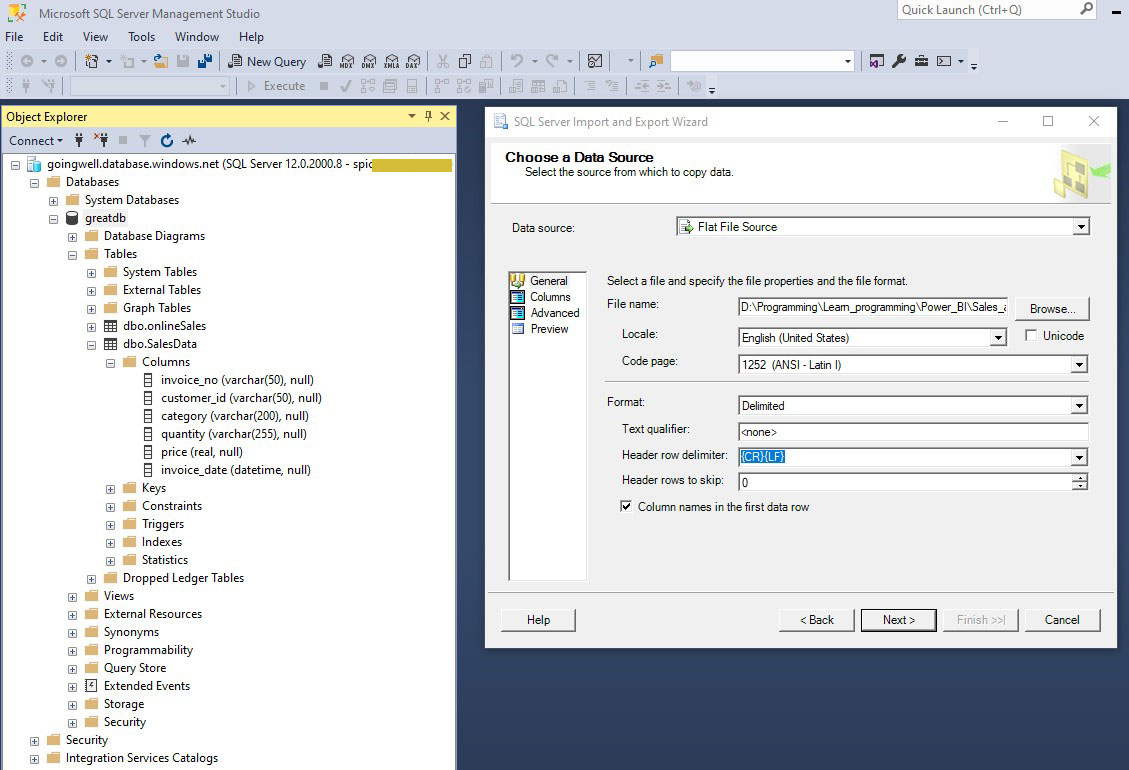
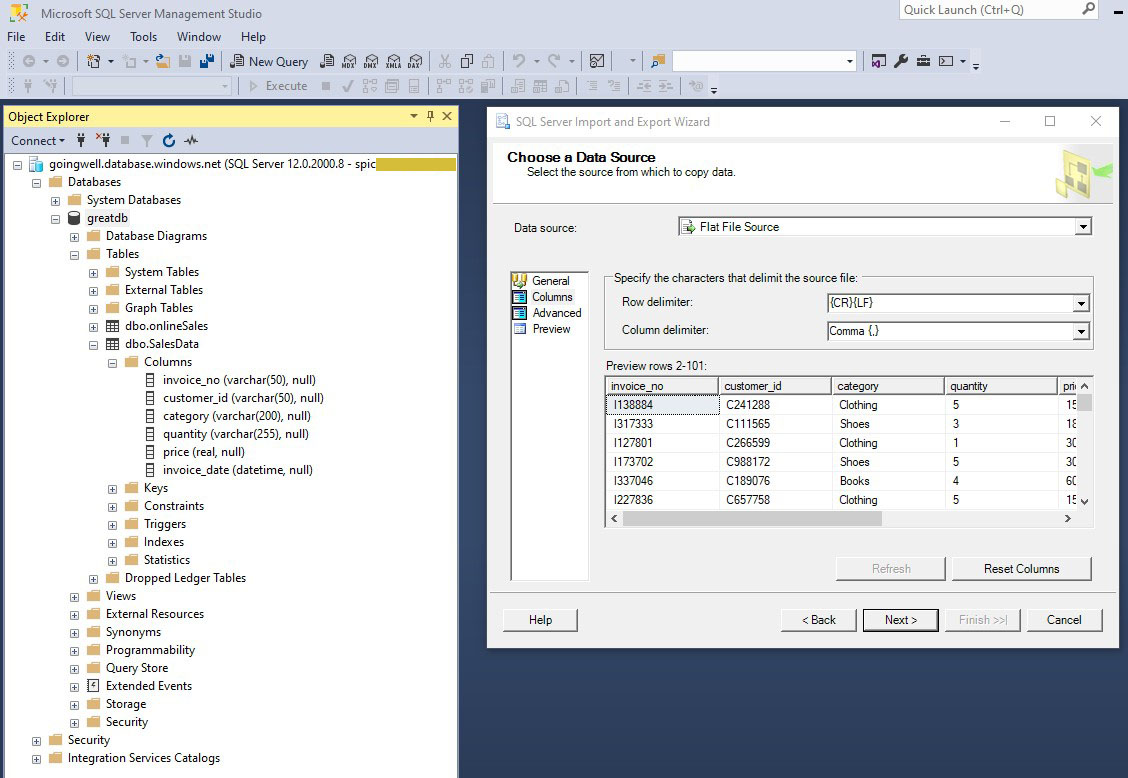
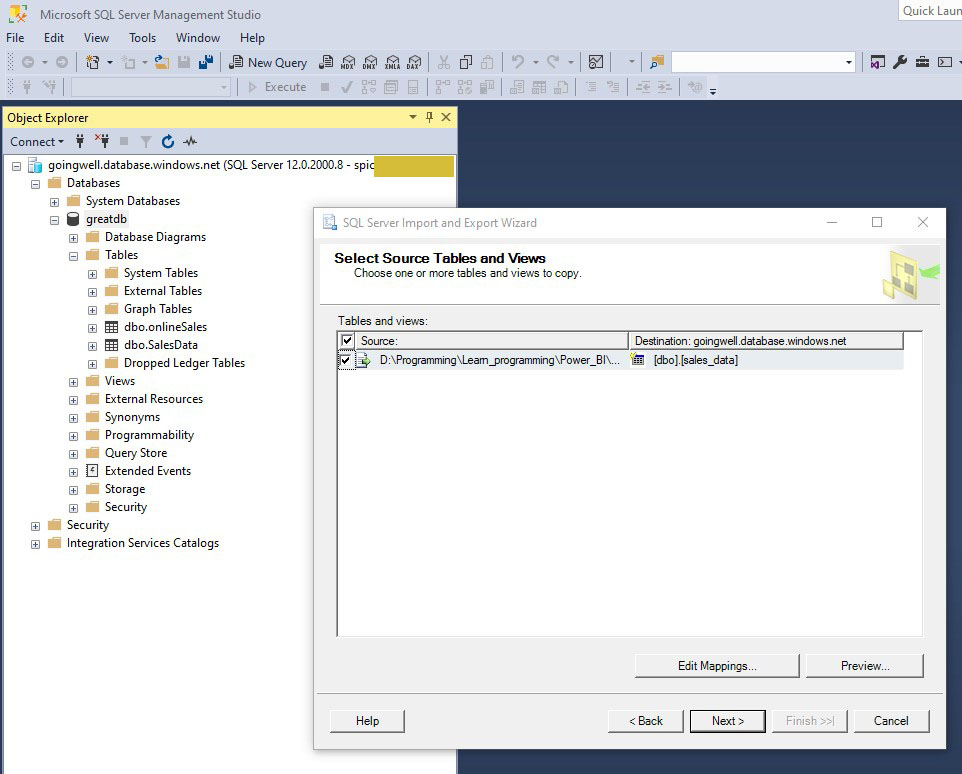
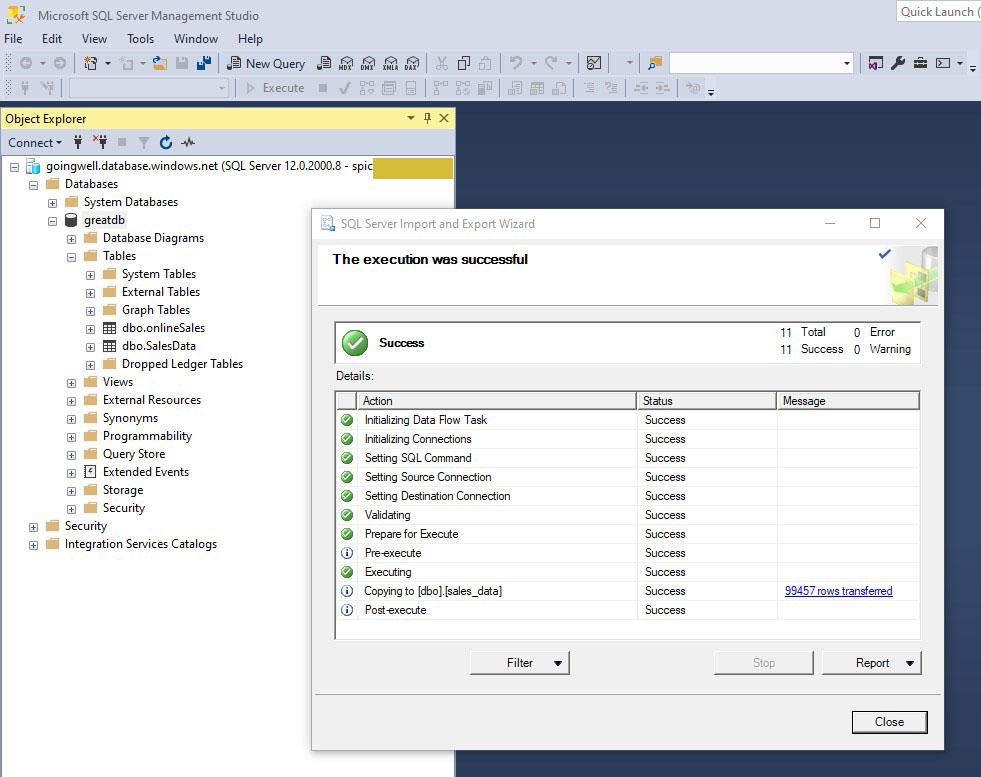
There is an example to show importing a flat file source into Azure Database using a client computer connection.

Important Security Tips:
Use Azure Key Vault: For enhanced security, you can store sensitive information such as connection strings and passwords in Azure Key Vault, which provides centralized key management and access policies.
Implement Least Privilege: Ensure that the credentials used to connect to the database have the least privilege necessary to perform required tasks.
By following these steps and best practices, you can securely connect from your client computer to your Azure Database, allowing you to manage and query your data effectively.
Trademark Disclaimer:
All trademarks, logos, and brand names are the property of their respective owners. All company, product, and service names used in this website are for identification purposes only. Use of these names trademarks, and brands do not imply endorsement.
